Showing posts with label Stampin' Up. Show all posts

Thursday, 11 May 2017

I do believe it's time for an Adventure.....

As promised I'm back today to share with you my Travel Journal preparations. I have gone ahead an decorated the first few pages ready for my jottings at the airport and during the flight.  I used a Kaisercraft film strip edge stamp for the borders of my pages. By the way, the pages look a little bubbly because I've glued every second page together, firstly because there were too many pages in this spiral bound book plus I wanted my pages to be a bit stronger to support anything heavy that I may glue into it.


I found a pack of lovely envelopes that fit perfectly (sideways) into the Journal. I cut one end off it ready to slip some mementos into it without having to untie the string closure. I decorated this one with stamps, tags etc.

I borrowed this little photo from the internet, decorated it and printed with my new "whizz-bang" HP Sprocket (more about this little wonder at the end of this post). The aeroplane on the right page is from my well-travelled friend, Lizzy Hill.  I'll be taking a few rolls of washi tape to stick mementos onto my pages and for decoration.

I have a beautiful Postcard stamp from Stampin' Up! that I love using on my travel projects, so it goes without saying that this has made an appearance in this Journal. All ready for my journalling. If you stalk your local Post Office, you'll find the little Air Mail stamps for free. The Washi Tape at the bottom of the left page is an appropriate happy find :)  

This "Today was" card is also compliments of Lizzy Hill. She was kind enough to send me a beautiful hand-made folder full of fun travel embellishments. A lot of them will be coming with me and the remainder will await my return for our travel album.

The remainder of the Journal is decorated similar to this. I plan on filling the pages with ephemera and maybe a few of my thoughts and discoveries.

So, a little bit about the HP "Sprocket"....but first a couple of pics of the small stash that I'm taking with me. These fit perfectly into a plastic zip folder from Office Works. The only thing that doesn't fit is my small pencil case containing a couple of good pens, black and a few coloured sharpies, and a couple of tiny Kaisercraft ink pads. This folder is slightly bigger than A4 and once closed with everything in it has a width of 4cm, so it won't be taking up much space in my carry-on bag.


I wanted to share with you this fun little sticky-note pad I found at Office Works. I'm looking forward to adding some words to this little beauty!

Now onto the game-changer!  I originally was going to leave space in my Journal to stick photos in after our trip. However recently I happened upon an advert for the HP Sprocket. Very timely I must say because this wonderful little machine prints 2"x3" photos directly from a phone app using NO INK!  Yes you read it here!  I have no idea how that even works but the App also allows you to edit your photos and play around with them.  Now you're thinking why on earth I'd want to cart around a photo printer while travelling. Well here's the thing....this little printer is the same size as my iphone, maybe a tad thicker!  I know right!!

It comes with a pack of paper and I have purchased a couple more. The paper is a tad on the expensive side but I won't be using a lot of it. The photo quality isn't perfect but great for just adding a few significant pics into my Journal whilst travelling.

All that is required is to charge it up with the included cord, insert the paper (there are instructions on YouTube), download the App and it's ready to go. Oh and I forgot to mention that the photo paper has adhesive backing! So all I have to do is print off a couple of pics that I've taken that day & stick them in my Journal when I sit down to write. It fits perfectly in this hard-shell pencil case I found at Woolworths, along with my phone charger (I have stored the extra photo paper underneath the Sprocket). Again, this won't take up much space in my carry-on. As a side note, call me old-fashioned but I still use an actual camera. I can't get the best quality from photos taken on my phone when I want to enlarge them so my little trusty point & shoot will be making this trip with us again.


So there you have it, all my Travel Journalling requirements are sorted. I suppose I need to pack clothes too, but hey! priorities people!

Until next time, take care xx

Tuesday, 9 May 2017

A little Thank You creativity

Hello and welcome back. I'm sharing with you today a Thank You card that I made last week for a special request. I pulled out some of my old Stampin' Up! stash and started to play. Gosh I forgot how many nice SU stamps sets that I have and barely use.

This one is from the "Postage Due" stamp set. I'm not sure if it's still available. I had pulled this one out recently to use the little postage stamps that come with it for my travel journal that I'm currently working on and realised that I hadn't used the main image of this set for a long time.


I've used four different stamps on this card along with "Island Indigo" and "Daffodil Delight" inks also from Stampin' Up!  I did a Rock'n Rollin'n technique with the ink and I really love the colour combination and the effect that it gave me.  The other stamps that I used are: Perfectly Penned, French Foliage (my absolute favourite that I use regularly) and Feels Good (image below).
The Flair "You lift me up" is from D-lish Scraps.

I made this card a 6"x 6" because there were going to be a quite a few people signing it so I left the right inside of the card blank for all the signatures and stamped a sentiment to the left inside of the card so they didn't have to struggle with writing on a bulking surface.


I loved this colour combo and technique so much that I also made a few tiny Thank You cards to take away on our o/s trip to give to our river cruise room attendants (they really spoil us!).

I was going to post a couple of photos on the progress of my travel journal here today, however it would have helped if I'd actually taken the photos.....oops. So I'll be back soon. Take care xx

Sunday, 12 April 2015

Nursery Wall Art...

I'm back again today to share with you a piece of wall art that I created for a lovely couple who are about to be first time parents. This is a technique I've been wanting to try for quite a while and it's a great way to use up lots of bits and pieces that I've had in my stash. The outside of this frame is approximately 11" x 11". I tried to keep it as gender-neutral as possible.


Once I worked out the pattern it came together relatively quickly. The fiddliest part was deciding on the embellishments, placement, fussy cutting and glueing.  The cute little wooden buttons are from Craft Queen. The lovely cream cabochen roses I can't even remember where they are from, because I've had them for so long. All the other buttons & pp are from Stampin' Up!. I stamped and fussy cut the little owls from the Stampin' Up! set "Aviary" - one of my favourites, and I added some little goggly eyes and mounted the owls with 3D foam. Here is a closie:


I chose some old chippie "ABC" letters and wrapped them in embroidery cotton. This was such a fun little project that I can't wait to make another one in the near future.  It would be fun to make one specifically for a boy or girl.  Anyway, thanks for looking and I hope I've inspired you to try this technique yourself, either within a frame as wall art or on your next scrapbook layout.  Have a great week!


Tuesday, 16 September 2014

Sketchabilities #123

Welcome back. This next layout is for the mid-month sketch over at SKETCHABILITIES. I had a lot of fun with this one, helped by the fact that I now have so many photos from the young ones' travelling collection. Here is the sketch:


It's a beauty don't you think?! And here is my creation (sorry about the crooked photography):


I so love this photo and I used to struggle with creating with bright colours, but since I've been driven out of my comfort zone it has become much easier for me. I've used some pretty Stampin' Up! paper, a Kaisercraft circle stencil, a Crafters Workshop script stencil, chippy ships wheel & bell from Scrapmatts, flowers from Scrappers Garden, Flair from A Piece of Cake Designs, a Kaisercraft tag and I've suddenly become hooked on sequins.                      


I purchased some cork sheets recently, so I've been die cutting my own alphas and embellies with it and I love the outcome :)

I hope you are enjoying Karan's sketches as much as I am. Don't forget that you can find past sketches on the Sketchabilities Pinterest page HERE.  

Thanks again for looking :)

Saturday, 21 June 2014

A little bit of Sketchabilities...

Hello all, I hope you are having a restful Saturday. After a gloomy, foggy start to the day we now have beautiful sunshine so I was able to get a pic of my entry for the new sketch at Sketchabilities:


The colours in this layout are so vibrant, but this photo doesn't do it justice. I love this Stampin' Up! paper "Eastern Elegance", which I've had for a while now just waiting for the right photo. Coincidentally, I picked up some paint swatches at Bunnings a few days ago - they make great freebie, colour-coordinated layers for scrapbooking - and I just happened to pick up some colours that matched perfectly with this pp. The names of the paint colours also matched my theme if you look closely :)


The flair buttons are from A Piece of Cake Designs, also something I've had in my stash for a while. They also matched perfectly with the pp.


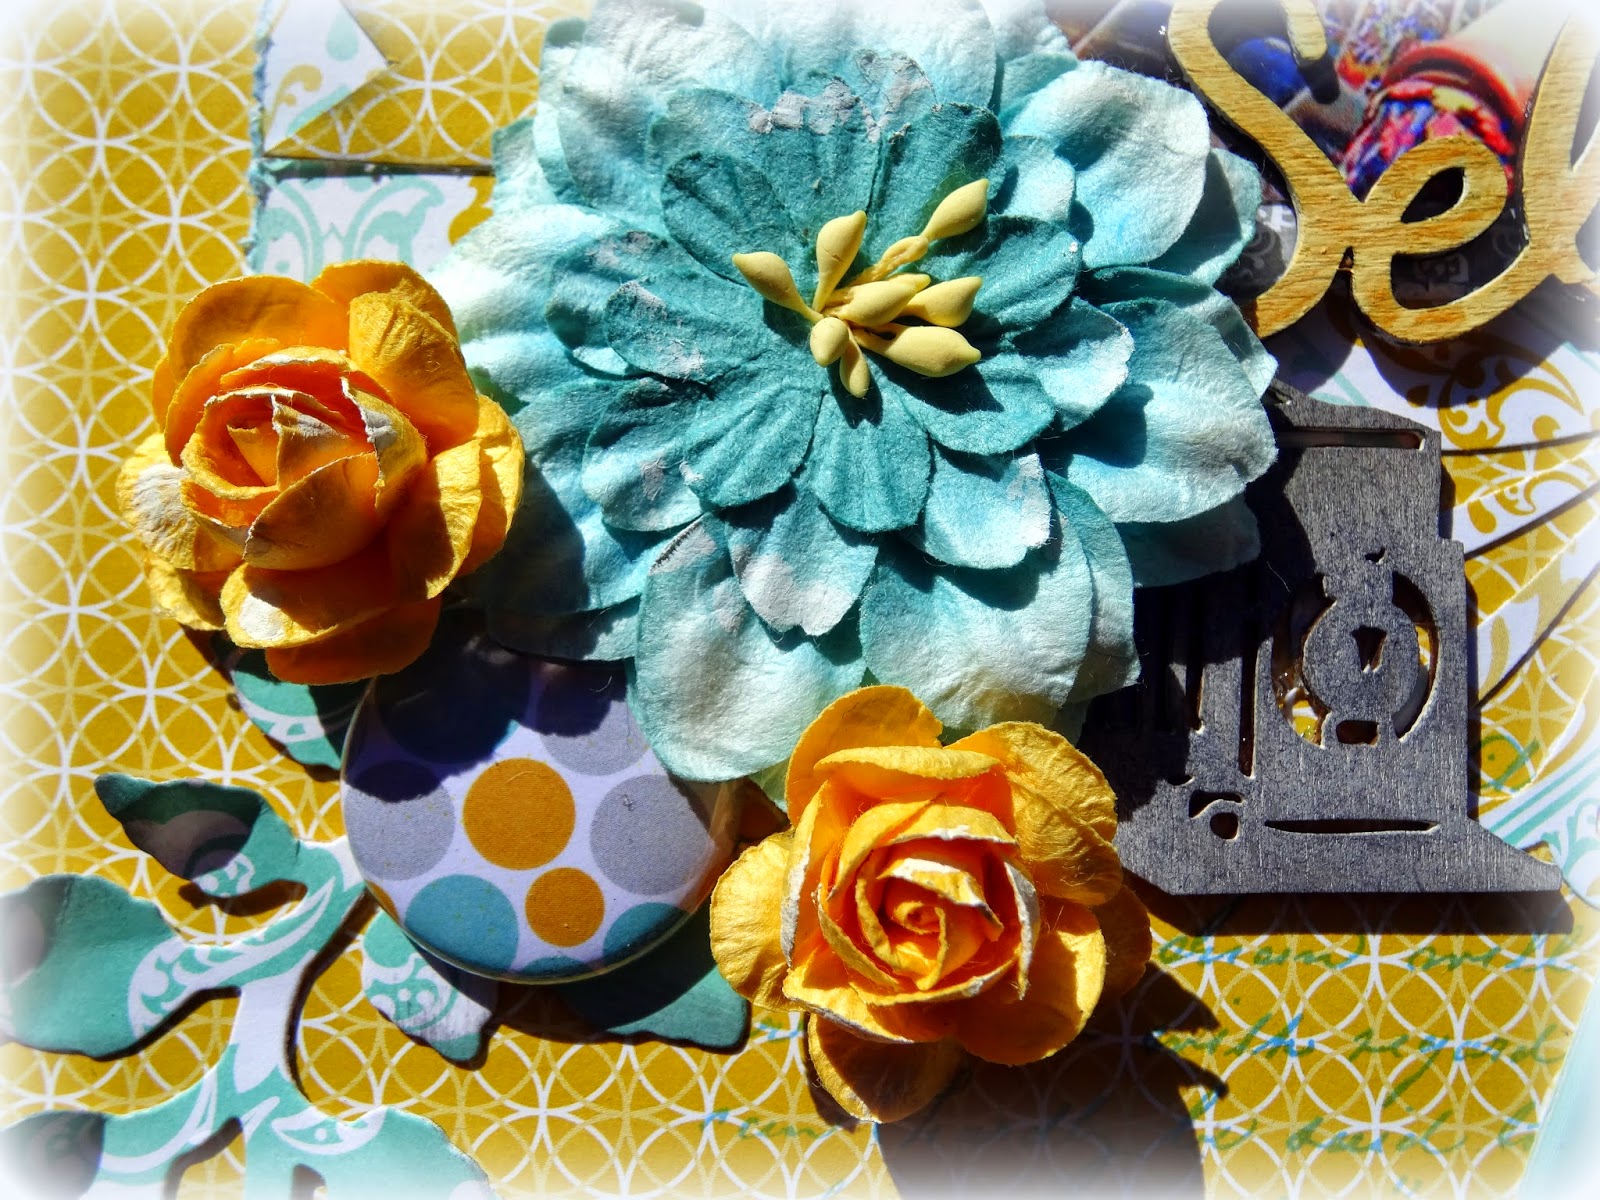
Flowers are from Craft Queen and Prima. The timber word "Selfie" is from Flutterby Designz and the American Craft Thicker. Also a Prima wooden camera.  For some reason I feel like I have scrapped this photo previously, but I can't find it so maybe I haven't, but I do have this photo on our fridge (cause it's one of my faves from their travels), so maybe that's why I feel like I've scrapped it :/  the mind is gradually leaving the building I'm sure!  Thanks for looking :)

Wednesday, 2 April 2014

A little cardmaking inspo...

Hello! I'm just about to start my Mother's Day cardmaking frenzy, as I've only just realised how quickly its coming around. But in the meantime here is a card I made recently upon a special request from my boss. I love the colours in these Stampin' Up! papers. I also handmade the little roses.


I based this on a similar design from a Stampin' Up! demonstrator and I'm sorry but I can't find her name now, but if I can find her website I'll let you know. The sentiment is a stamp from Kaszazz.

TFL :)


Friday, 17 January 2014

Baby Boom!

I'm back again to share a couple of cards I made this week. Everywhere I look there seems to be a new baby on the scene or just about to be. The Human species is definately not an endangered one! There was a little bundle of joy (of the pink kind) that arrived for one of my work colleagues last week. Here is the card I made for her. It's been a while since I created any punch art, and I forgot how fun it is, so I may have to do a few more of these.


The next card is one I made using my Xmas stocking punch but I cut them down to size to resemble baby bootees.

I've decided to make a concerted effort to make at least one card every time I create a scrapbook page, with the leftovers. It's the only way to keep my card stash up to date I think. So far so good.

Thanks for dropping by & feel free to leave some blog love :)


Sunday, 25 August 2013

Another Sympathy Card

Sadly, I seem to be asked way too frequently lately for sympathy cards. Here is the latest which I whipped up last week. I was quite pleased with how the colours worked  in this card and I tried to keep the design simple. I hope I don't get too many more requests for this genre :(


Thanks for looking :)

Sunday, 11 August 2013

Feminine Birthday Card...

This week I was asked to make a special "girly" card for a friend's sister. When I'm asked to make a "one off" card for a special occasion I do like to go the extra mile and try my best to make it unique. I saw this style on a Stampin' Up! website (Beth Adams) and decided to have a go at it.


 A lot of punching and die cutting on this and I also hand made the little roses. I love this colour combo of Daffodil Delight/White/Pool Party.  As you can see I also threw a bit of glitter around - more so on my hands, face and desk than actually on the card :)


Thanks for looking & I'll be back soon with my next Case File for CSI #84 - I so love their challenges!


Wednesday, 31 July 2013

The Paper Players #156

Time hasn't been my friend of late, so I'm a tad chuffed that I've been able to cobble together a card for the current challenge over at  The Paper Players. This is actually a Father's Day card for my collection that I'll be selling in the lead up to Dad's Day. A lovely quick and easy challenge this week which right up my alley.


Thanks for looking xx

Wednesday, 10 July 2013

Another little card share....

Happy hump day, I hope you all managed to get through another one. I, for one will be glad to see the end of this week as it will be the end of my full-time stint for a while. To say I'm extremely tired would be an understatement. These days I'm just not cut out for 10 hour shifts day in, day out. I must be getting old :( Plus I'm really missing my creation station time. But last weekend I did manage to jump in and get a card made, unfortunately under sad circumstances. This is what I came up with:


I've been experimenting with this stamp set a fair bit lately and I'm starting to get the hang of it but I'd like to do a bit more work with the flower petals, so I'll keep playing with this set for a while longer.

Thanks for looking and please feel free to leave a comment :)

Wednesday, 26 June 2013

A bit of card inspo....

On the last hump day for June I'm posting some cards I've made in the last few days for several different occasions. The first one is for the current challenge over at The Paper Players #151. This is a sketch challenge and I've used the colours Crumb Cake, Very Vanilla, Soft Suede and Old Olive. The stamp sets I've used are "Thanks for Caring" and "Happiness Shared" and seem binding ribbon from Stampin' Up! also a bit of fussy cutting.


Here is my interpretation:


I added some extra leaves to give it more dimension.  It was DH's birthday yesterday so I made him the card with the old penny farthing bike image (which I've raised with foam tape). I was really pleased with the colour combo on this and the pp is from Kaiser and the stamp is from the lovely "Feeling Sentimental" set from Stampin' Up! The second card is for a work colleague of my husband's who is retiring next week. The stamp set is the very versatile "Lovely as a Tree" set and I've brayered the colours onto the cardstock. The leaves are fussy cut from the "French Foliage" set and I decided to use some autumn colours as the colour scheme.


I hope I've given you some inspo to get your mojo flowing today. Thanks again for dropping by xx

Wednesday, 12 June 2013

Rainy day baby cards

Happy hump day....again! The weeks just keep on rolling round way too quickly. And on a rainy, cold day what else can I do but spend some time at the Creation Station. I've been asked by a sweet lady to make a baby boy card for her to give to someone so I thought I'd make several for her to choose from. I haven't made baby cards for yonks, so I had a lot of fun today with these little projects.

First up is the chest of drawers. This is my first attempt at this design and I must say it was soooo easy. The hardest part is fussy cutting the little bits and pieces to put into the drawers. I've used So Saffron as the main colour with touches of Certainly Celery, Bashful Blue and Basic Grey. I think the little pearl brads that I've used for the drawer knobs are from Craft Queen.


The light for photography today was pretty ordinary, but this card is my favourite Stampin' Up! colour - "Pool Party". I've heat embossed the Noah's Ark image with Pool Party embossing powder. This colour
 looks heaps better IRL.


I've used Bashful Blue cardstock and ribbon for this card and fussy cut the little images to place inside the embossed frame. This is really a beautiful colour for babies.


This next pic is of the cards I made for the lovely Nicole over at Craft Queen with the very pretty Kaiser "True Romance" collection as well as lace, ribbons and rosettes also from Craft Queen. If you'd like to purchase this range, pop on over the Craft Queen and have a browse.


Thanks for dropping by once again, I appreciate you taking the time xx

Wednesday, 22 May 2013

An Off The Page share...

Happy hump day all! and a grey, miserable day it is. A few weeks back I created another wall art frame for a friends birthday.


Once again I've used Stampin' Up! pp for the background and then embossed the medallion stamp in the middle with white embossing powder. I've then constructed the flower, which I cut with the Big Shot, and added some tulle behind it to soften the look. I then cut the butterflies also with the Big Shot and added some pearls.


I had a lot of fun doing this and I love my Stampin' Up! butterfly die. TFL xx

Monday, 20 May 2013

Paper Players #146

Two posts in one day...incredible! I'm on a bit of a role today so thought I'd add my entry for the current challenge over at The Paper Players :


Clean and simple I can do, but masculine I usually struggle with but here 'tis:


I've embossed the motor bike and the sentiment with white embossing powder which really pops with the navy blue.  Thanks once again for dropping by :)

Saturday, 16 March 2013

House work can wait....

Hello all! After a long, hectic week I thought I should get stuck in & clean the house but decided to do some creating instead. But the weeks are going way too fast & of course I've missed the deadline for the challenge over at http://thepaperplayers.blogspot.com.au/
So I made my creation based on the challenge anyway. The challenge


And here is my contribution that didn't quite make it:


Regal Rose is one of my favourite Stampin' Up! colours besides Pool Party but I wasn't sure how to go about adding Early Espresso & Lucky Limeade, so I dediced less was more with those two colours. This is one of the quotes in the "Feel Goods" stamp set from Stampin' Up! I've also used one of the new stamps from KaiserCraft.

Thanks for dropping by again & have a great weekend xx

Monday, 11 February 2013

Wall Art Part 2

As promised I'm back with pics of the other frames that I made recently using the lovely Stampin' Up! pp, punches, the lovely Medallion stamp & embossing.

Firstly butterflies in soft suede/choc chip/Crumb Cake with white embossing powder & pearls.


Classic black/grey & white birds with black embossing powder. I really love the background paper & I've used it on lots of projects in varying colours.


These were made for a couple of gal pals & I plan to make a couple for myself as soon as my work station is up & running again. I hope you like them & thanks for looking xx