Showing posts with label Travel. Show all posts

Sunday, 1 October 2017

Uniquely Creative's Creative Kit Club

Apologies for my blog absence but life has been keeping me a tad busy of late. One of the creative jobs I've been doing has been for Uniquely Creative. Tracey very kindly asked me back to the Team for October as a Guest Designer, so I thought I would share with you what I came up with from one of the very generous Kits for this month.

It was really nice to be creating a couple of 12x12 layouts this time as well as a few cards. The Kaisercraft papers in this Kit are stunning! I chose to use a couple of photos from one of the many Chateau that we were lucky enough to visit on our recent trip to France.


Included in this Kit is the laser-cut brick work which went perfectly with my theme.  I actually went on this tour on my own, because DH wanted to do a different tour this day. I had such a lovely time wandering and exploring on my own. The gardens here are magnifique!

Check out the Collectables and pretty flowers that are included in this Kit!  


For this next layout I really wanted the photo to be the star so I kept the embellishments to a minimum and concentrated mainly on what I love to do and that is to "cluster".  This building is just at the entrance to the same Chateau and it is the first thing visitors see as they cross the ancient old stone bridge over the moat. I love how the building is reflected in the water.


And here are a couple of cards I made with this Kit as well, with lots and lots of product left over.


So this is what has been keeping me busy plus prepping for an upcoming creative weekend away with the Sisterhood...can't wait for that to happen :)   I hope you get a chance to hop on over to the Uniquely Creative site and check out this amazing Kit. xx


Friday, 11 August 2017

Kraft Plus August Challenge

Hello again fellow paper lovers! Sandra and the team from Kraft Plus Challenges set a very interesting Challenge this month. When I first looked at the inspo board I really didn't think I would enter this time around. But after some consideration I decided that I shouldn't let it daunt me so here is my take...


After making a complete mess of my first attempt and having to completely start over, this is the finished layout.


The journalling reads "These lovely palm tress in Barcelona really captured my eye until I noticed they were guarding a magnificent frescoed wall".  We were escaping the heat and  having a sneaky drink in a cute little bar just near the Palau de la Musica, when I found myself staring at these trees. It took my mind a few minutes to register that the building behind them was covered in some amazing paintings. Below is a photo I took of the Palau de la Musica Catalan, just opposite the bar.


Thank you once again for looking xx

Thursday, 27 July 2017

Travelling with a diary

As promised I'm back again today to give you my take on what it's like to travel for six weeks and keep up with diary entries without it becoming a chore. It's a little lengthy so I would suggest that you grab some sustenance to get you through.

I always take a journal along with me on all of our "big" trips and like most people I would start off with lots of enthusiasm and write every little detail down. However by around the third or fourth day of doing this it would become burdensome and boring and I would return home with only a few pages of monotonous dribble. Sound familiar?

When we were planning our six week overseas trip I was determined to find a way of writing in my Journal every day that would be less time-consuming but enjoyable. I came to the conclusion that I would need help with deciding on how I was going to keep up the momentum and in what format I would achieve my goal. Pinterest is a fantastic help with ideas on what type of journal I wanted to use and tips on creativity. You can read about what I eventually decided on and the prep work in an earlier post HERE.

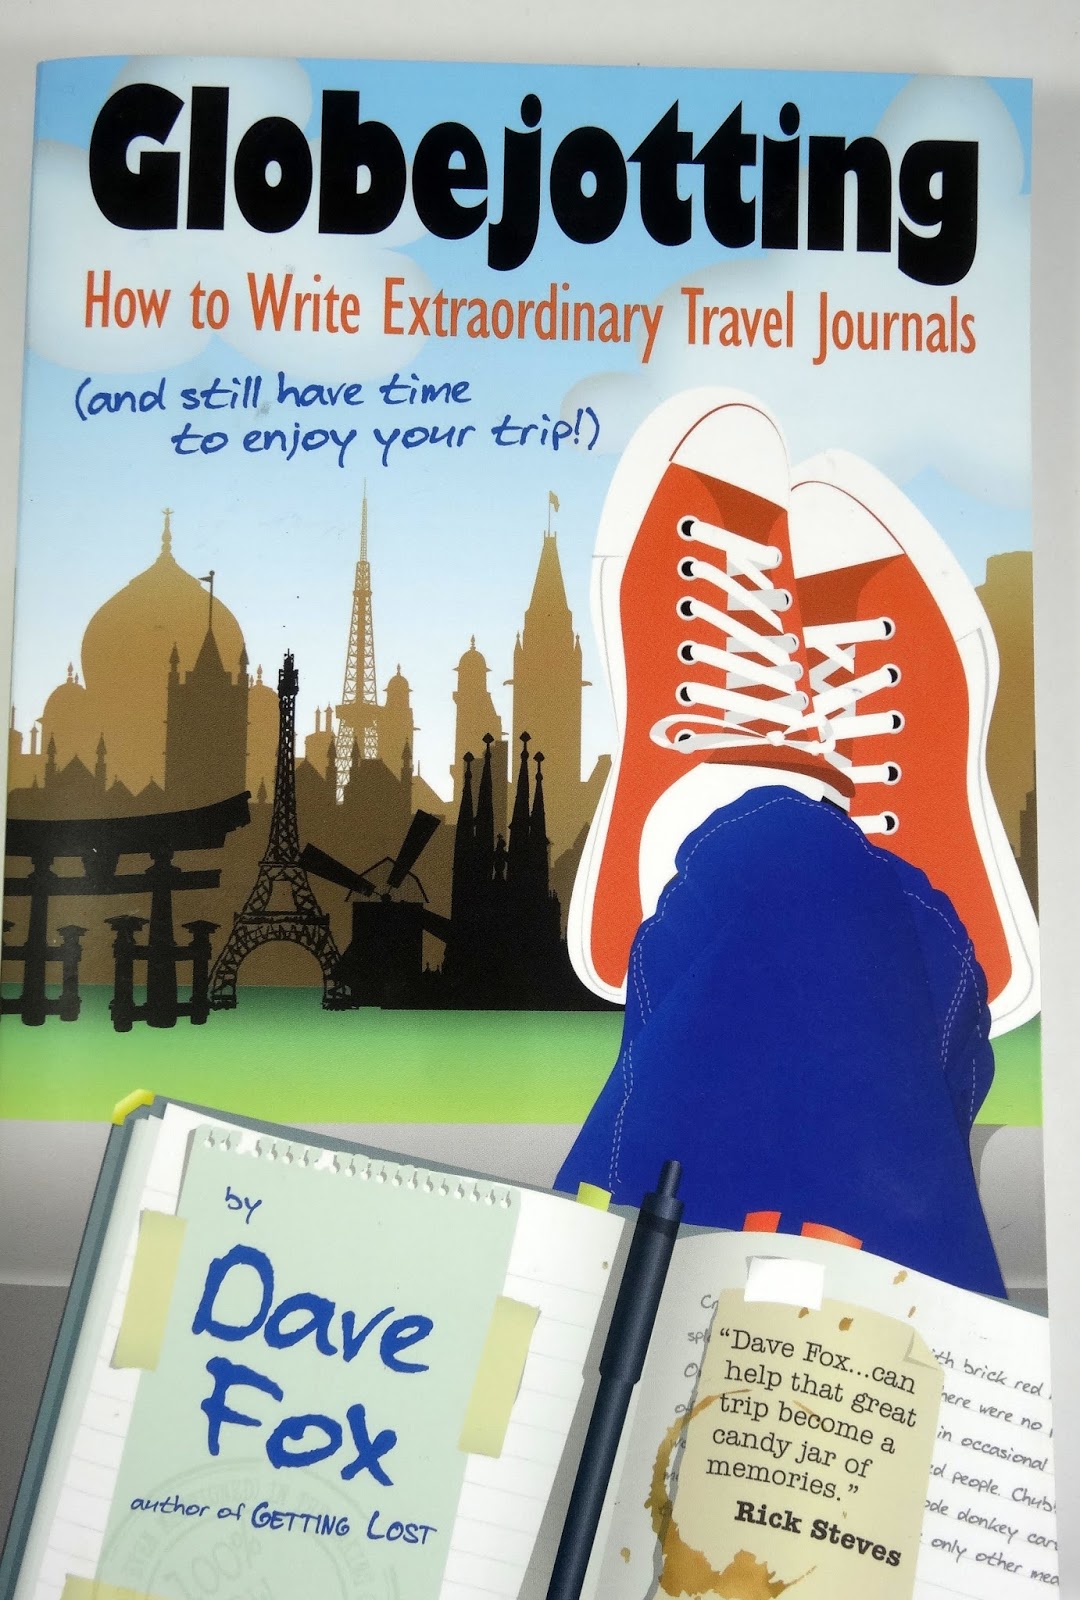
During my search for a travel journal Guru who could show me the way, I happend upon this interesting book by Dave Fox. He shares some great examples on how he writes in his Journals and
gives the reader several writing exercises to do before you get started. I found his advice very helpful and tried to keep in mind what I had learnt from him during our trip.
The other thing I did was to make sure that I purchased a postcard every day (not to post but to keep for myself). Now you may think that this is extreme but I had two good reasons for doing this. Firstly if my journalling motivation failed or I got behind by a few days, then the postcards would be a reminder of what we did on that particular day. Secondly, I use Project Life/Pocket Pages to record all our travel photos when I return home and writing on a postcard everyday, or every other day, meant that my journalling for this album would be done already. All I had to do was pop the postcard into the relevant pocket next to my photos and job done!  Having said that, surprisingly there were a few small villages we visited that, despite the tourists, didn't sell postcards...go figure! These were rare though and as you can see I accumulated quite a stash.


I would write on these every day without fail, no matter where we were (hence the shonky handwriting). I'm so glad that I did because I did get behind on several occasions with the entries in my travel journal and I used these to catch up.

I decided that early mornings were best for me to journal, mainly because I'm an early-riser and my mind is sharper in the mornings than at the end of a long day of sightseeing and/or a date with a cheeky French wine. So I would sit somewhere quiet before breakfast and jot down the previous day's activities, but only the ones that were a standout or something that gave us the "wow" factor, or it could even be something trivial that gave me a strong emotion. I could quickly print off a photo or two that I'd snapped with my phone (usually selfies) using the little whizz-bang HP Sprocket, add a few mementos or embellishments that I had collected and it was done. Some days I'd spend longer on the page, depending on what plans we had for the day ahead.

As you can see it became a little bulky...


There were days when I went a tad overboard with my writing and probably added too much detail but on the whole I was pleased that I used only one page per day. The only two-page spreads I used were for the days at The Somme and the Normandy D-Day Landing sites, which gave me so many emotions that I couldn't do these places justice in just one page. Occasionally I journalled about several places that we visited in one day hence having to use two pages, but these were very few.

Every now and then I would just add an envelope or a bag to pop in our tickets or memorabilia. This is better than my old way of throwing our collection into a bag and trying to sort through it all when we arrived home. Thanks Lizzy Hill for gifting me the lovely bits and piecs on this page! xx


I found some great kraft envelopes before I left that fitted the pages in the journal perfectly. I cut off the end to slip stuff into it so I didn't have to keep untying the string. I didn't take any glue as such with me just a small glue pen, a small roll of double-sided tape and a few rolls of washi tape.


This is one of my two-page spreads. There was so much going on in my head this day and so many emotions that I just kept writing. I even ended up writing on a tag and placing it just inside the envelope along with some information that I'd picked up at the Villers-Bretonneux Australian War Museum.


I was really surprised and delighted that by the end of the third week my journalling was still going strong and more importantly I was enjoying it. I do tend to get a bit "antsy" when I go for too long without some type of creativity, so this was keeping my "crazy" at bay. I really love this little bag that came with a postcard that I purchased. How did they know it was the perfect size for my journal!! :D


I thought I would run out of pages before the end of our trip so I started adding extra pages and little flip tags etc.


The photo on the left (below) is a A5 size piece of paper that I wrote on the front and on the back added a photo and memorabilia. I took an itzy-bitzy, tiny stapler with me which turned out to be a game-changer as far as keeping these extra pages in place goes.


Also on Pinterest there are same great ideas on doodling. I won't bore you any longer with every page but this is the last few pages that I did when we returned home. It's always good, after a few weeks, to jot down your thoughts and things that you may have learnt from your experiences. I wrote a page about all the Highlights (and there were many!) in a dot-point style.


I've had these wonderful quotes from Pinterest stored away just waiting to be added at the end. I think they sum things up pretty well. I'm sorry but I have no idea who wrote these.


On the very last page I wrote my thoughts, six weeks after our return, jotting down what I would have done differently and what it was like sorting through the 1800 photos that I managed to take...gulp! This is the back inside cover.

The result is that you absolutely can travel, having wonderfully huge days of being on the go and still write about your amazing experiences at the end of the day. It doesn't have to be every little detail but just the ones that took your breath away, something brilliant that you ate or drank, something that someone said to you or made you laugh out loud. Of course you can add the where and when of it but keeping those details brief is the key. There will be a few things that I will change in my next Travel Journal but overall this system worked for me. It will be lots of fun reading this five or ten years from now. I'll probably cringe but at least its recorded and it will help me when it comes time to put together our photo album.

I hope you enjoyed these little tips. I enjoyed this process so much that I'll be creating another one for a trip to Myanmar at the end of the year. A trip that will not only take me way out of my comfort zone but an adventure that has significant meaning for me with a very special person in my life. So stay tuned for the next Travel Journal instalment.

Wednesday, 26 July 2017

July Challenges

Hello again and thank you for calling in. While I'm finally on a roll with my creativity I wanted to have a crack at doing a few more challenges but the month is almost up so I'm combining this layout with three Challenges. I don't normally do this but time is of the essence. When I saw the new Challenge over at More Than Words I just had to join in with one of my recent travel photos. Criteria: the word "Explore" and the use of Arrows. I've used the word "explore" at the bottom of the photo of me if you look closely.


The next Challenge I wanted to join in on is the one over at  Challenge YOUrself. Criteria: Use your own handwriting in your journalling.


Now to achieve the first two challenges I needed some sketch inspiration, so I'm also joining the mid-month challenge over at Stuck?!   I can always rely on the girls at Stuck?! to get my imagination into gear and this one's a beauty!


So here is my entry.  I've used two photos on my layout because I wanted to use the full size pic of the Cathedral as well as the close up of me resting at the entrance. I kinda got carried away with my ink splats...eeek! I do love getting messy with ink though :D


So there you have it. It's so therapeutic being able to create again.

STAYED TUNED as tomorrow I'll be posting a review on how I went with journalling my travels whilst on the go...achievable?  You'll find out the answer right here tomorrow :)

Thursday, 11 May 2017

I do believe it's time for an Adventure.....

As promised I'm back today to share with you my Travel Journal preparations. I have gone ahead an decorated the first few pages ready for my jottings at the airport and during the flight.  I used a Kaisercraft film strip edge stamp for the borders of my pages. By the way, the pages look a little bubbly because I've glued every second page together, firstly because there were too many pages in this spiral bound book plus I wanted my pages to be a bit stronger to support anything heavy that I may glue into it.


I found a pack of lovely envelopes that fit perfectly (sideways) into the Journal. I cut one end off it ready to slip some mementos into it without having to untie the string closure. I decorated this one with stamps, tags etc.

I borrowed this little photo from the internet, decorated it and printed with my new "whizz-bang" HP Sprocket (more about this little wonder at the end of this post). The aeroplane on the right page is from my well-travelled friend, Lizzy Hill.  I'll be taking a few rolls of washi tape to stick mementos onto my pages and for decoration.

I have a beautiful Postcard stamp from Stampin' Up! that I love using on my travel projects, so it goes without saying that this has made an appearance in this Journal. All ready for my journalling. If you stalk your local Post Office, you'll find the little Air Mail stamps for free. The Washi Tape at the bottom of the left page is an appropriate happy find :)  

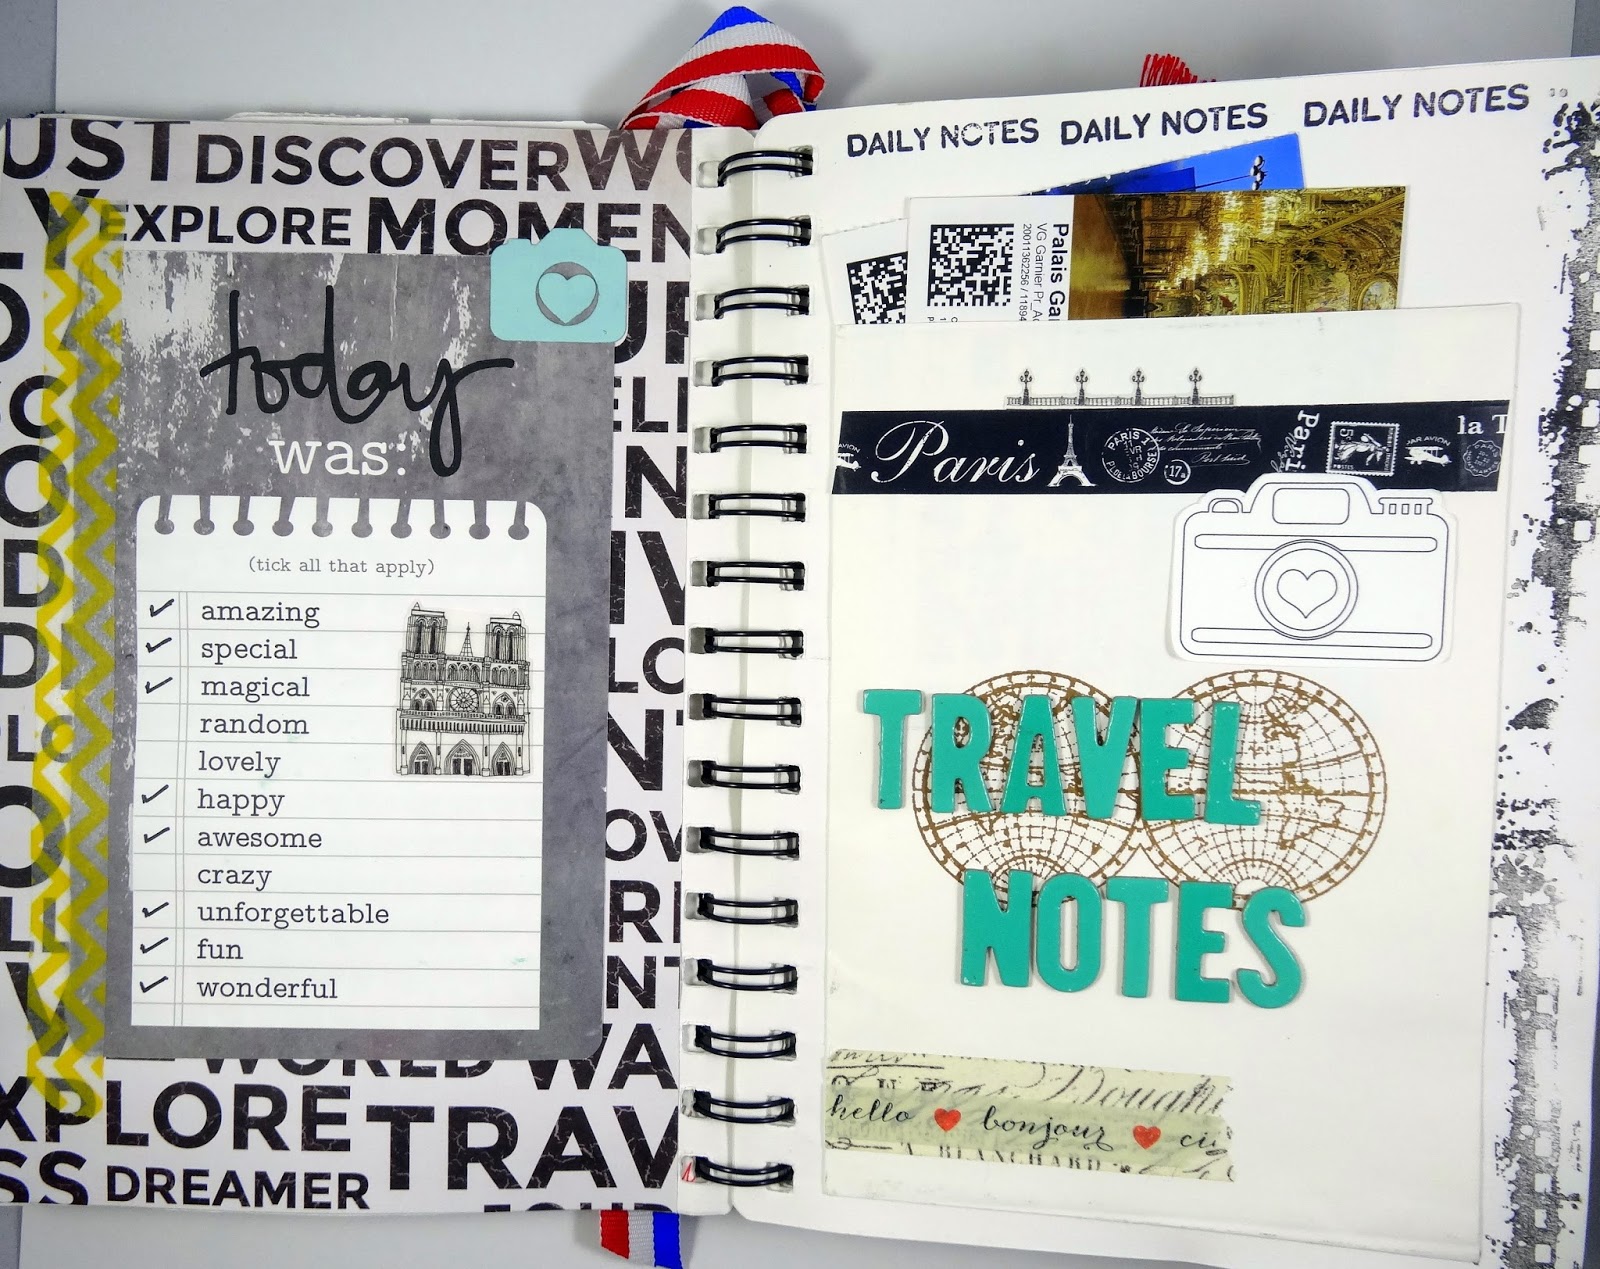
This "Today was" card is also compliments of Lizzy Hill. She was kind enough to send me a beautiful hand-made folder full of fun travel embellishments. A lot of them will be coming with me and the remainder will await my return for our travel album.

The remainder of the Journal is decorated similar to this. I plan on filling the pages with ephemera and maybe a few of my thoughts and discoveries.

So, a little bit about the HP "Sprocket"....but first a couple of pics of the small stash that I'm taking with me. These fit perfectly into a plastic zip folder from Office Works. The only thing that doesn't fit is my small pencil case containing a couple of good pens, black and a few coloured sharpies, and a couple of tiny Kaisercraft ink pads. This folder is slightly bigger than A4 and once closed with everything in it has a width of 4cm, so it won't be taking up much space in my carry-on bag.


I wanted to share with you this fun little sticky-note pad I found at Office Works. I'm looking forward to adding some words to this little beauty!

Now onto the game-changer!  I originally was going to leave space in my Journal to stick photos in after our trip. However recently I happened upon an advert for the HP Sprocket. Very timely I must say because this wonderful little machine prints 2"x3" photos directly from a phone app using NO INK!  Yes you read it here!  I have no idea how that even works but the App also allows you to edit your photos and play around with them.  Now you're thinking why on earth I'd want to cart around a photo printer while travelling. Well here's the thing....this little printer is the same size as my iphone, maybe a tad thicker!  I know right!!

It comes with a pack of paper and I have purchased a couple more. The paper is a tad on the expensive side but I won't be using a lot of it. The photo quality isn't perfect but great for just adding a few significant pics into my Journal whilst travelling.

All that is required is to charge it up with the included cord, insert the paper (there are instructions on YouTube), download the App and it's ready to go. Oh and I forgot to mention that the photo paper has adhesive backing! So all I have to do is print off a couple of pics that I've taken that day & stick them in my Journal when I sit down to write. It fits perfectly in this hard-shell pencil case I found at Woolworths, along with my phone charger (I have stored the extra photo paper underneath the Sprocket). Again, this won't take up much space in my carry-on. As a side note, call me old-fashioned but I still use an actual camera. I can't get the best quality from photos taken on my phone when I want to enlarge them so my little trusty point & shoot will be making this trip with us again.


So there you have it, all my Travel Journalling requirements are sorted. I suppose I need to pack clothes too, but hey! priorities people!

Until next time, take care xx

Sunday, 19 March 2017

Scrap the Girls March Challenge


Hello everyone! It's been quite a while since I've joined in on a Challenge over at Scrap the Girls, and so while browsing a few of my favourite online Challenge sites, this particular Challenge jumped out at me.


Let me assure you that I do not do Selfies. Mainly because I'm useless at it and manage to make myself look like either a criminal, deformed or something the cat has dragged in off the street. But my DD however is great at it and she took the most amazing Selfie whilst on a recent trip to Cambodia and Vietnam. Her and her partner we invited to a local Cambodian home for dinner. The house was full of extended family and as usual my girl was a magnet for all the children of the household (hence why she's a teacher).  This is the result of her whipping out her phone to amuse them:


Such gorgeous little faces!  I've used the Kaisercraft Hanami Garden Collection for this layout and the beautiful lace was an added addition to the Kit from the February Creative Kit Club.


Thanks for looking once again xx


Saturday, 25 February 2017

Kraft Plus February Challenge


Hello everyone. You know, living in the 21st Century has its advantages most of the time. Hell, they even put a man on the moon almost 50 years ago for goodness sake. You can even get internet service on the back roads of Vietnam whilst risking your life in their dodgy public transport. So I ask you....how is that when I request  my telco provider in a civilised Country like ours to connect me to the "new whiz-bang NBN" the outcome is that they cut off my landline and internet completely!! Yes folks, the reason for my online absence is that for more than a week now I have been without internet/phone service.  WTF!!!  I know I live in a regional area, but I do live in a significantly large town that now supposedly has NBN connectivity. Why, why, why is it so hard for someone to do the job that they're being paid to do?!  So this little rant is coming to you from a borrowed service, so I must get on with it.

My entry for this month's Kraft Plus Challenge:


This did not have to be a beach theme, but I get so very few chances to scrap beach photos that I just had to go with that theme.


It's been a little while between layouts, so I really relaxed into this and had it done in no time.


I'm not usually big on the story-telling side of things, but I wanted to stick with the sketch as much as possible.


Thanks for looking. Until next time when I'll hopefully have internet service in this Century sometime xx


Sunday, 5 February 2017

Hanami Garden Inspo

Hello fellow crafters. I'm just quickly popping in today to share with you a layout I created with the February Creative Kit from Uniquely Creative.  Kaisercraft's Hanami Garden Collection is perfect for some recent photos of our DD's trip to Vietnam and Cambodia. Thanks again to Steve for supplying her Mumma with this gorgeous pic, taken in Hoi An's Old Town.

The products and colours in this Kit are truly beautiful.  Tracey and Kasia have introduced Gold accents into this Kit and the matching wooden embellies make it so easy for me to make clusters on my pages, and you know how much I love clusters! :D

Products from my own stash that I've used are Colour Blast Colour Paste with a Prima stencil on the background which isn't included in the Kit. And the little pearl dots Viva Perlen-Pen in Gold and Black also not in the Kit. Everything else that you see on this page you will find in the Kit.


The little flowers from the Kit are so perfect in colour and size for this.


This is not a layout that you'll find in the February Creative Kit Club instruction/inspiration book, however please feel free to "scrap-lift" the design and all I ask in return is that you mention my Blog, makingacreativelife.blogspot.com.

I hope you get to play with all these goodies. I'm sure there will be more travel pics to scrap very soon but now I'm torn between the Ubud Dreams and the Hanami Garden Collections. Kaisercraft you are killing me!!!! :D     TFL xx

Saturday, 28 January 2017

Last minute Challenges

I hope you're all having a great weekend so far. The relentless heat has kept me indoors most of the day so that means I can visit my creation station without the guilt. This time I'm entering two Challenges. The first one is for Challenge YOUrself.  This one jumped out at me because of the song lyrics. I mean who doesn't like Louis Armstrong I ask you?!! And this is such an iconic song known the World over. My inspiration is the word "Wonderful" and how I'm trying to appreciate the fantastic Country that I live in as well as my own personal World. When I'm visiting places in my own Country I really do sometimes think to myself how wonderful it is and how lucky we are.


The second Challenge is from Picture This! Challenges. A chance to play with some mixed media....yay!! soooo much fun.


Here is my entry with a background of texture paste, stamping, Dylusions Paint and something new for me...glue from my new cordless hot glue gun. I've used the glue to add dimension to the page.


I painted the glue with Dylusions Paint "Dirty Martini".  I also watered down some of the paint and let it run over the textured background.


There's a lot of layering on this page, which I normally struggle with and I'm not afraid to admit that this was my second attempt. My first was a complete disaster but I managed to pull it apart and salvage a few things to add to the new page.


This photo of me was taken almost a year ago when we took time off to visit our Nation's Capital. I specifically went to enjoy a art exhibition that was running at the time and while we were there we were lucky enough to see Rob Thomas in concert. One of the best concerts we've been to. Such a nice guy and fantastic entertainer. I can't wait for him to come back to Australia again.

So that's my labour of love for today. If you have a couple of minutes to spare jump on over to both of the above Challenge blogs and check out the "wonderful" inspiration from the design teams. Thanks for looking xx